Concept to production: Resulting in a groundbreaking product
In the straight shaving Industry when you start dreaming about what to develop next you have to do your research. Straight razor shaving has been around for hundreds of years, and shave brushes equally as long. There are ideas and concepts which have floated around the industry but fail to be sold. What I find equally as disheartening, is there are thousands of designs and products released which are made for the sole purpose of profit. The complete disregard for customers' needs can directly accelerate your businesses suicide.
My vision with Forever Fresh Co. Is not to focus on revenue or price when developing a product, but rather develop products with nobody other than the barber or customers needs in mind. My philosophy in business is that if you focus on your customers needs and develop a product directly for those needs, once you calculate a respectable price it will sell to those that appreciate your craftsmanship. The shave brush we recently released is a direct result of my business values. My concept turned into a reality that has been engineered well, designed with a creative passion, and sold to loyal customers. For the latter of the process, I thoroughly thank every single customer who has purchased one. Hopefully this In-depth look at how I designed, developed and created our first shave brush will give you a bit of an insight into why I am so proud of them, and also the extensive work that goes into each and every brush!
Here is how to make a shave brush from a design that has never been done before!
-Curtis
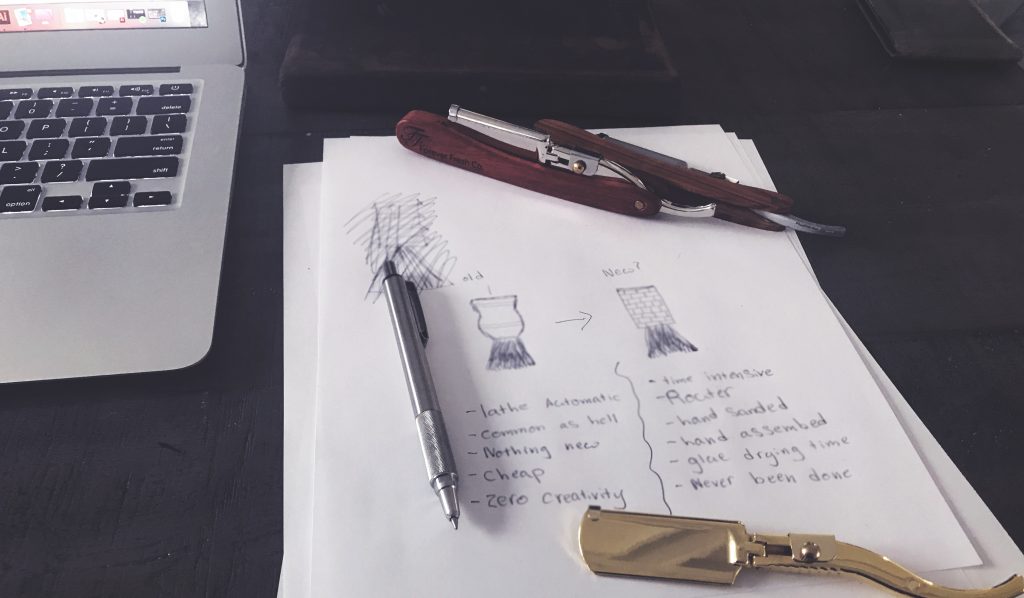
Step 1. Create Concept, Draw, Pros & Cons of new shave brush
"If you continue to do the same thing expecting different results your religion is failure."
I wanted our shave brush design to be so different, that it would radically change the way consumers thought about the traditional design. I saw many flaws in the current shave brush designs, but I wanted to make sure that we paid our respects for the current designs as well. Instead of making a shave brush simple- from 1 piece of wood and focused on revenue, I wanted to focus on creativity, and functionality, not profit. One common method I saw between nearly every single brand was a 1-piece design.
These brushes are VERY cheaply made and extremely easy to mass produce for a low cost. I started to realize that perhaps making a shave brush out of multiple pieces allows the brush to take on a completely different shape & functionality. The Forever Fresh brush  concept utilizes the natural texture in wood, the shape in offset layers to provide grip even when wet, and a design never seen before.
I started by drawing on paper my ideas, getting my thoughts into visual designs. The next step would be accurately drawing it in AutoCAD so i wanted to make sure that my designs had a strong starting point.
Step 2. Illustration & refining design
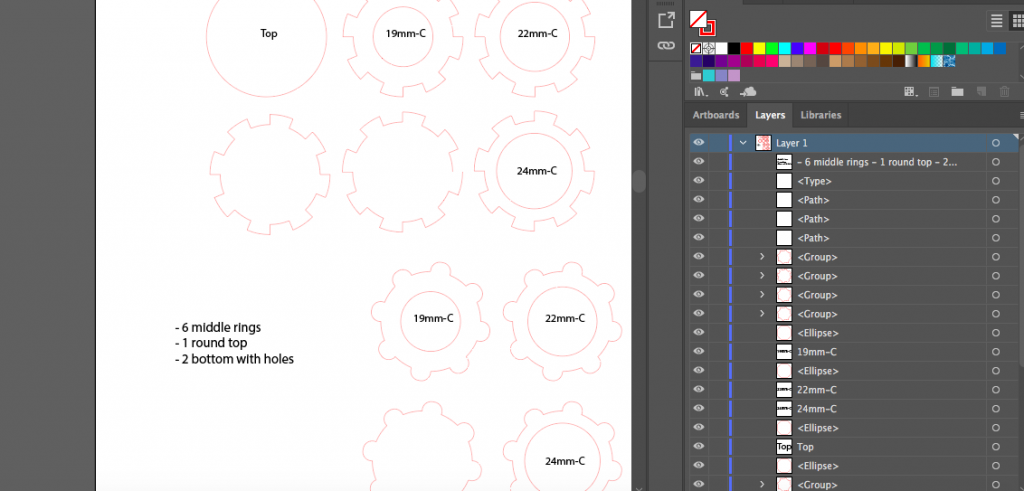
Official graphic drawing begins June 13.2018
One of the most important steps after drawing a concept on paper with pencil or pen is to draw it to scale in an illustration program. Often when designing shaving products I use Adobe Illustrator. The different pieces for a shave brush are drawn in 2D first with Hairline paths. This allows for a accurate scale to be drawn, while keeping things fairly simple. In Illustrator you will be able to measure, expand or contract all of your drawing proportionately instead of having to start from scratch on paper.
Step 3. Creating a 3D image in AutoCAD
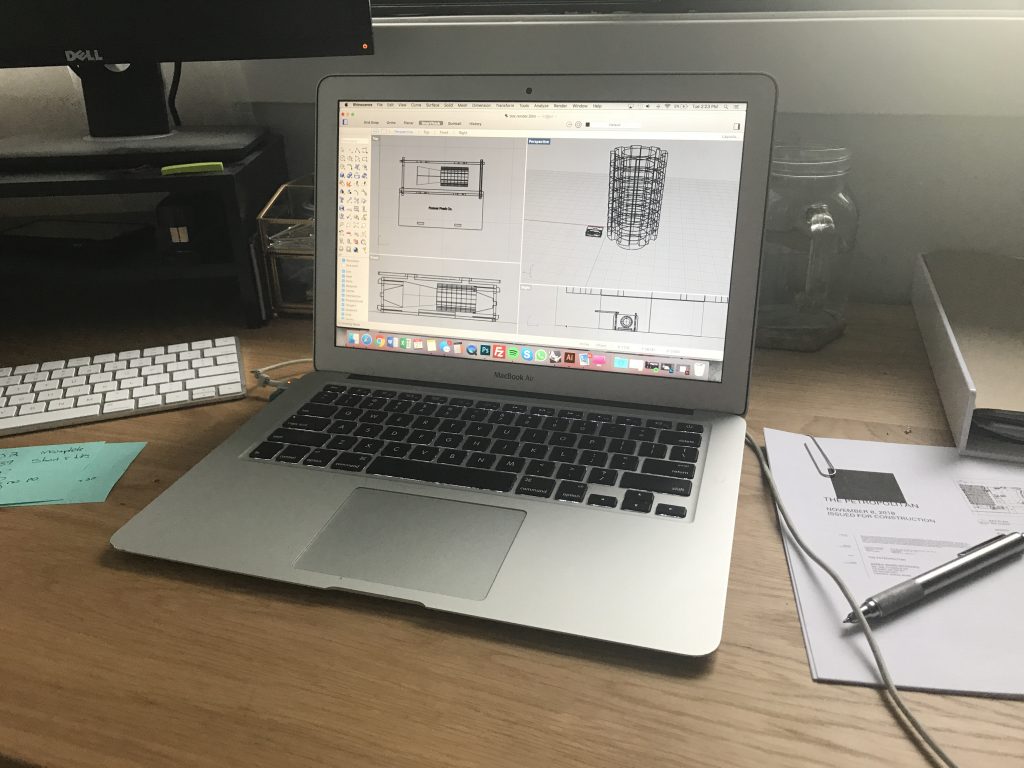
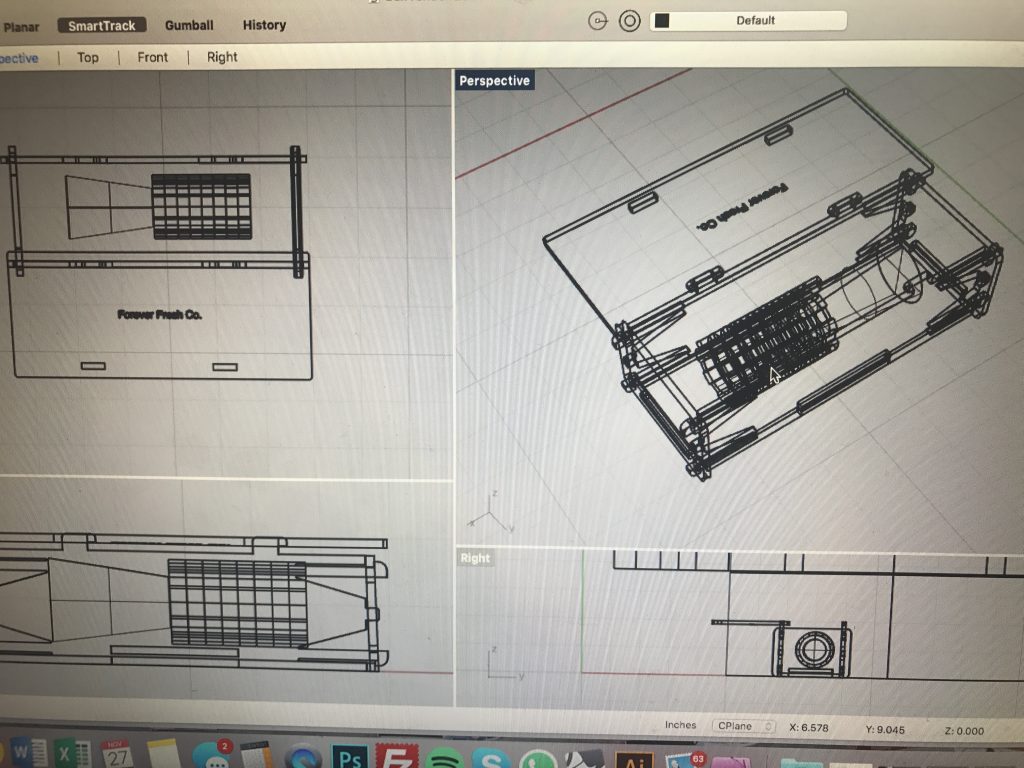
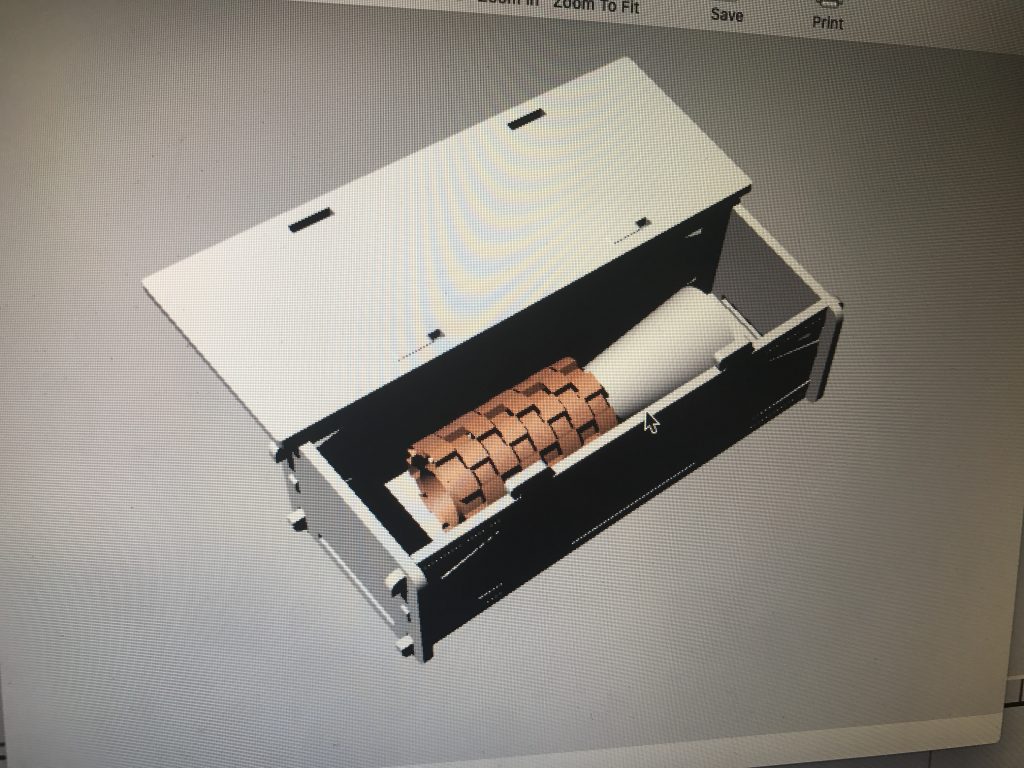
Once you have worked through the learning process of accurately rendering a model in AutoCAD and your product now seems a viable option you can continue on to forecast how expensive it will be to produce your project. This is a step that will often influence your design, however, I wanted the shave brush to be focused 100% on function and design without finances involved.
Step 4. Prototype Production
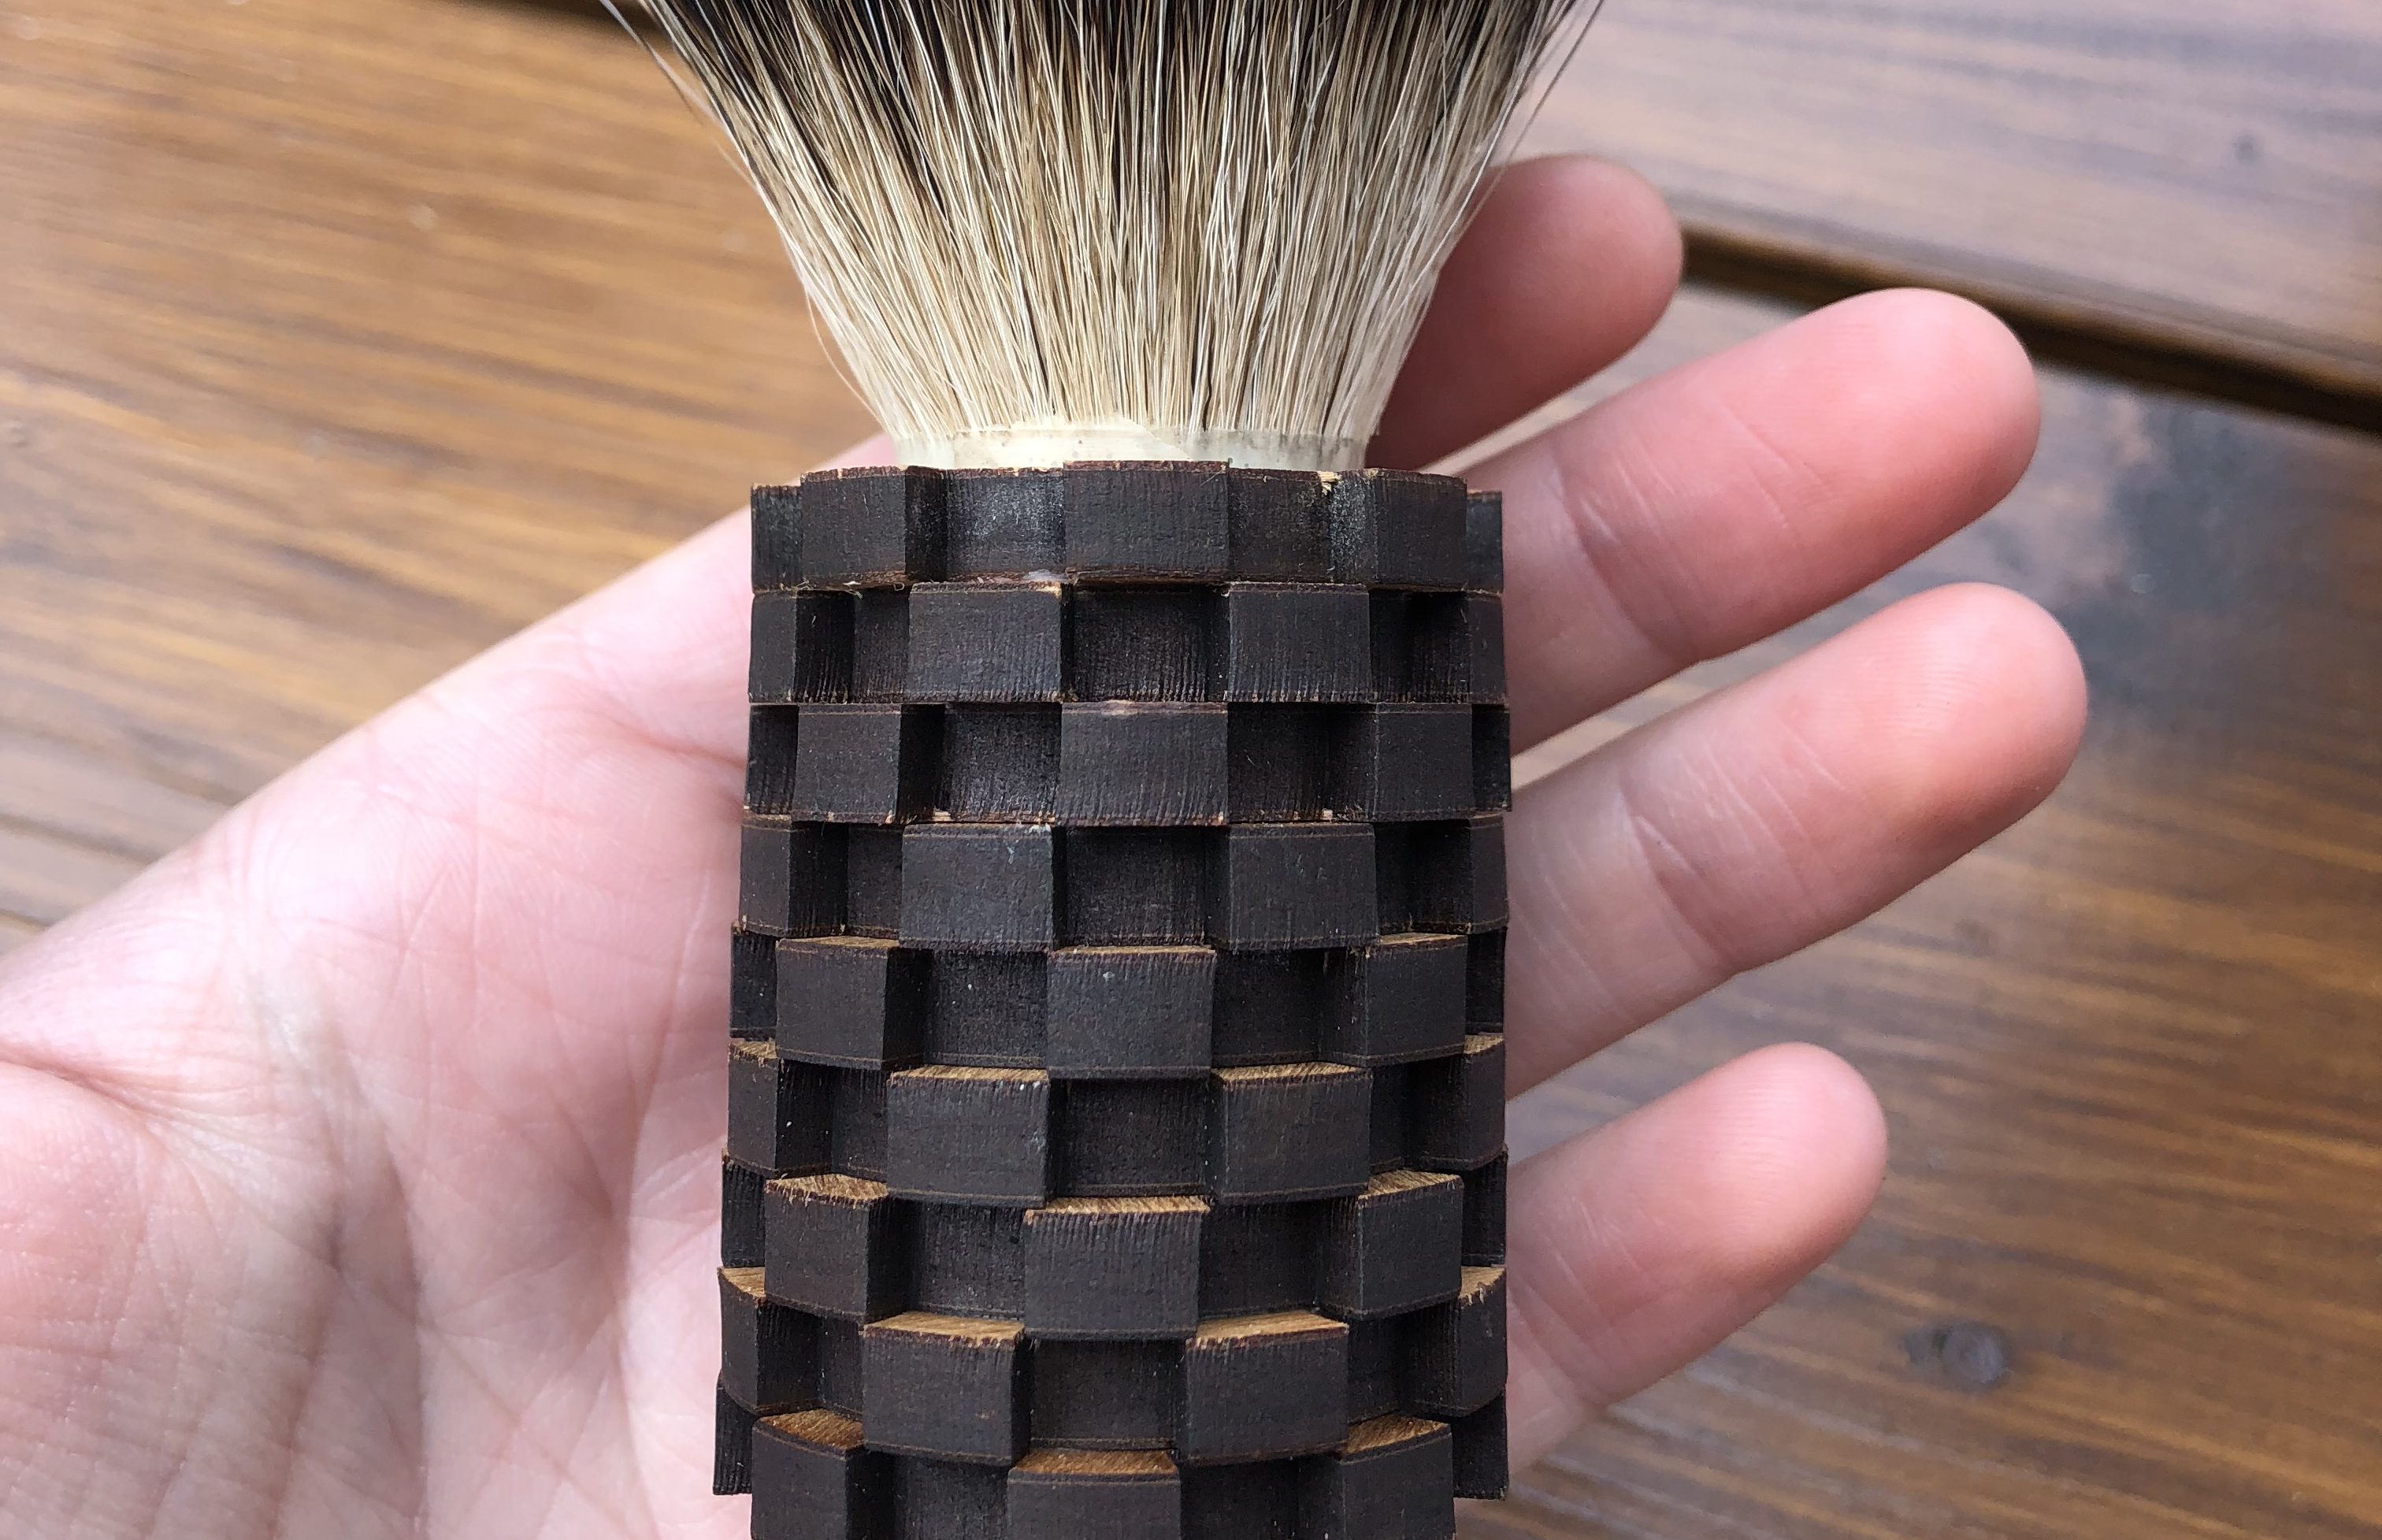
Working prototype produced for evaluation and barber insight- September 08.2018
Often the final version of a product takes on many steps along the way. The shave brush was first made into a prototype with cheap materials, and alternate methods that would provide us a working model. We laser cut the shave brush out of cheap MDF material and felt that with a few minor tweaks the shape was perfect.
I am a firm believer in the support, insight, and criticism of our TEAM barbers. Every one contributes in their own unique way, whether it is paying attention to who likes what, who comments on what photos, or who provides their valued opinion during the prototyping phase of a new product, it is greatly valued. I believe in trusting the very people who believe in my vision for this industry.
Step 5. Produce prototype with proper machinery
From the start we envisioned a shave brush with multiple pieces. The slices that make up the brush are cut with a CNC machine in several layers. Each of these layers are then rotated and offset from each other to ensure a level of grip unparalleled by any other brush in the industry. The outside of our working prototype is not a viable option since the entire outside surface has been cut with a superheated laser. The Trotec laser machine we use vaporizes the wood and leaves a burnt surface that would not be practical.
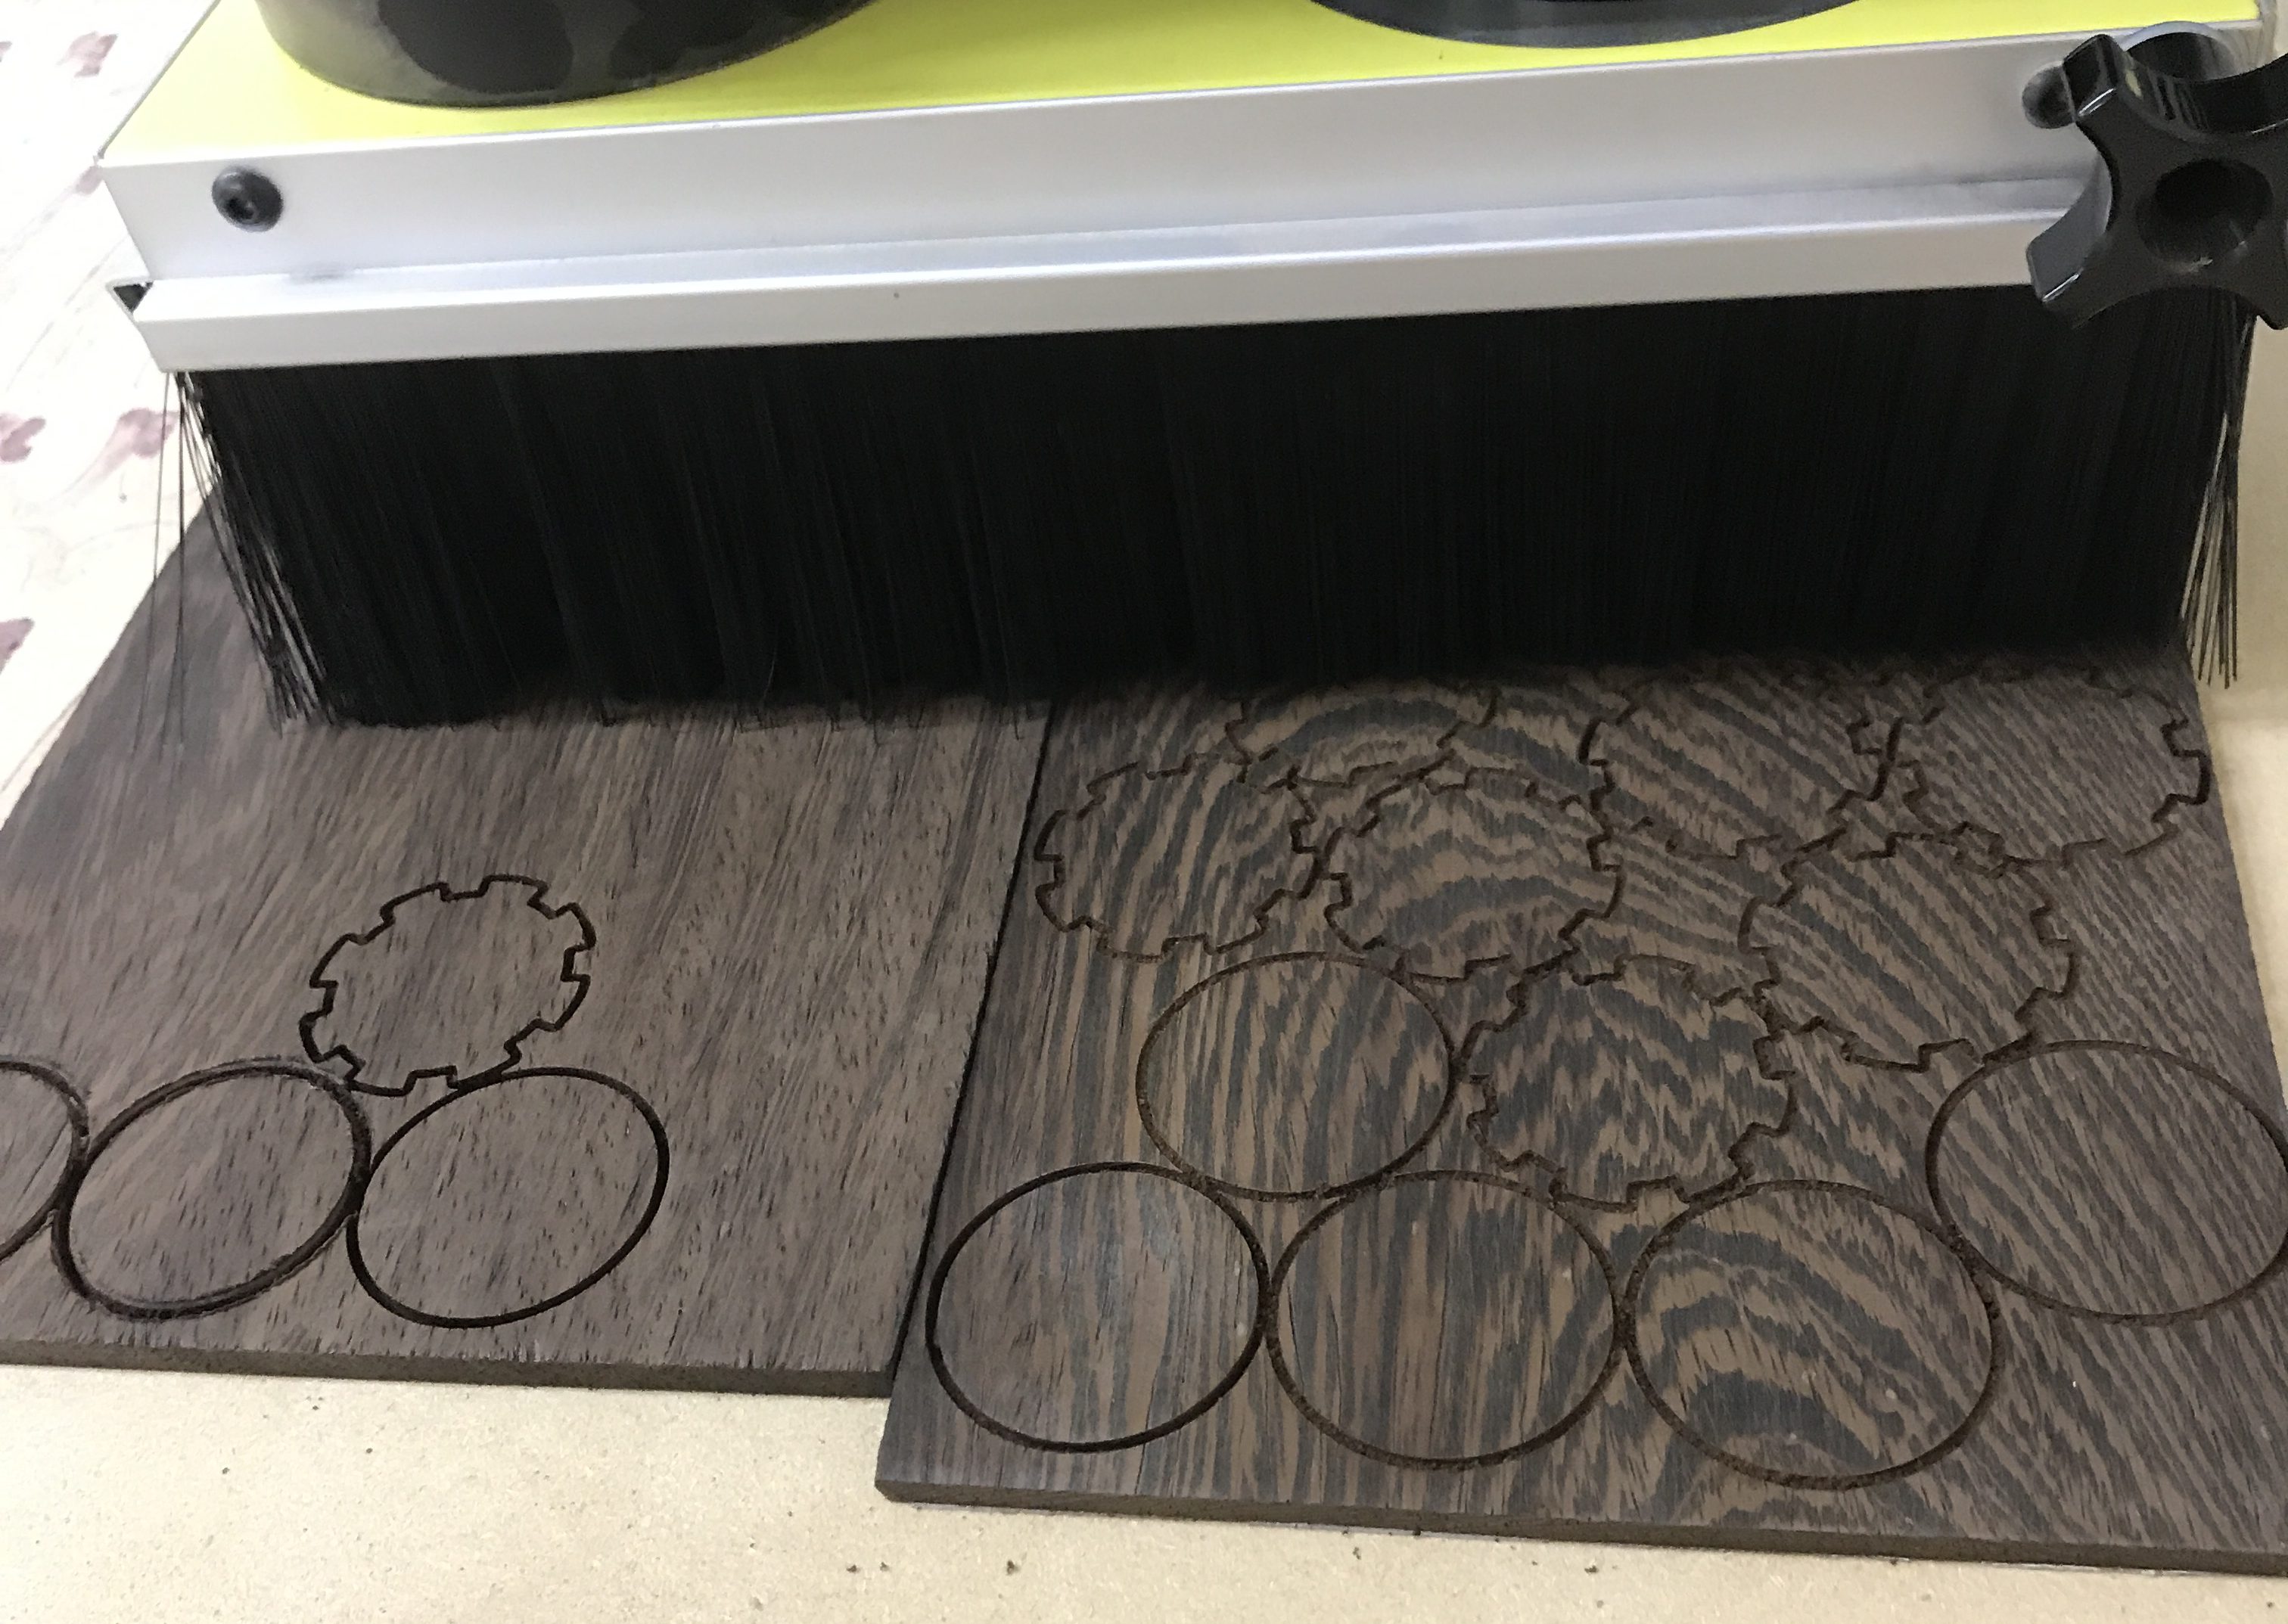
Final prototype version completed: October 24.2018
Preparing wood for CNC machining:
Much like the preparation process of our Straight razors, our hand-selected lumber goes through a rigorous preparation process before it is turned into a shave brush. Milling, planing and preparing lumber for our shave brushes can take up to 2 hours alone.
CNC router cutting:
Programming the CNC router machine and loading the final version of the files is done with an extreme attention to detail. If one measurement or "path" is wrong it can waste the entire process.
After our final prototype version was made I personally inspected each pieces and decided that each brush would require 1-2 hours of sanding time each. This ensures that every slice which makes up the brush is absolutely perfect, smooth, and will not crack.
Sanding:
There is no shortcuts, each shave brush takes about 2 hours to sand, by hand. This allows us the privilege to inspect and monitor each piece for superior quality. If there are issues with the grain in the wood, or slight cracks we find them before they become an issue in the future while you are shaving.
Step 6. Assembly
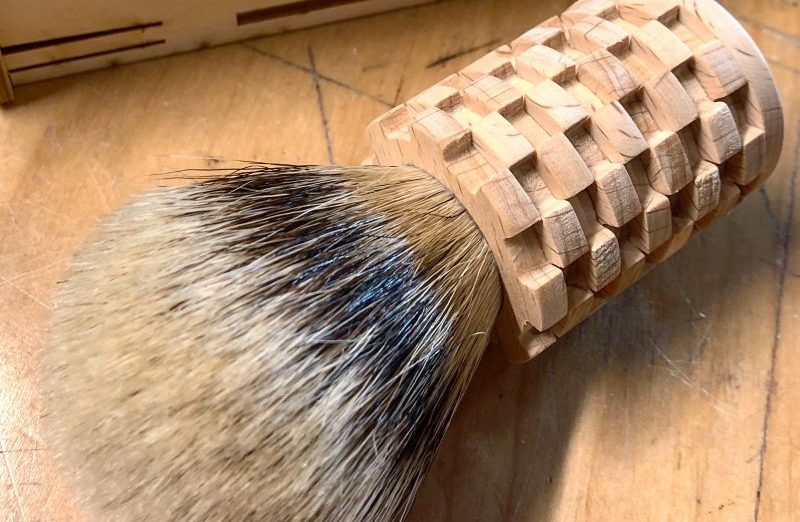
Final Shave brush model completed for full-scale production November 06.2018
Once sanded and inspected for quality control issues, the slices are glued and attached together with a superior water-proof glue which takes an additional 30 mins. Nothing is rushed and each brush is made with an extreme attention to detail.
The final step is securing the Silvertip badger brush knot in which we have sourced the finest high-mountain hair that is known for accumulating/storing water, and producing a superior lather.
The entire process of concept, engineering, design, development and assembly has been largely simplified to explain things in a way which is easier to understand. If you have any technical questions and would like to know more about our products, or engineering of new products please don't hesitate to reach out. We love talking with other creative minds!